
Camera setup · Reolink
Connect a Reolink camera to VISEC.
Reolink cameras work with VISEC over ONVIF. The setting lives under the port options rather than a menu called ONVIF, and there is one codec choice that catches people out.
Download VISEC free
One camera free for life · Windows 10 & 11 · no card, no email.
First, try the easy way
Press scan.
VISEC searches your network for ONVIF cameras and lists what it finds. If your Reolink camera already has ONVIF switched on, it appears here and you are watching live in a few seconds — nothing below is needed.
Turning ONVIF on
If the camera does not appear.
Menu names move around between firmware versions, so treat these as the place to look rather than an exact path.
-
Open the camera in a browser or the client
Sign in to the camera at its IP address, or open it in the Reolink desktop client.
-
Enable the ONVIF service
Go to Settings › Network › Advanced › Port Settings and make sure the ONVIF service is switched on, then apply.
-
Use standard H.264
In the encoding settings, turn off H.264+, H.265+ or Smart Encode if your model offers them. Those enhanced modes are not part of the ONVIF standard and are the usual reason a Reolink stream connects but shows nothing.
-
Scan from VISEC
Press scan in VISEC, choose the camera, and sign in with the camera's user name and password.
PortsReolink's ONVIF service normally answers on port 8000, with RTSP on 554.
AuthenticationIf the camera offers it, enable WS-UsernameToken authentication.
Battery modelsBattery-powered Reolink cameras sleep to save power and are not built for continuous recording. Mains-powered models are the ones to use with VISEC.
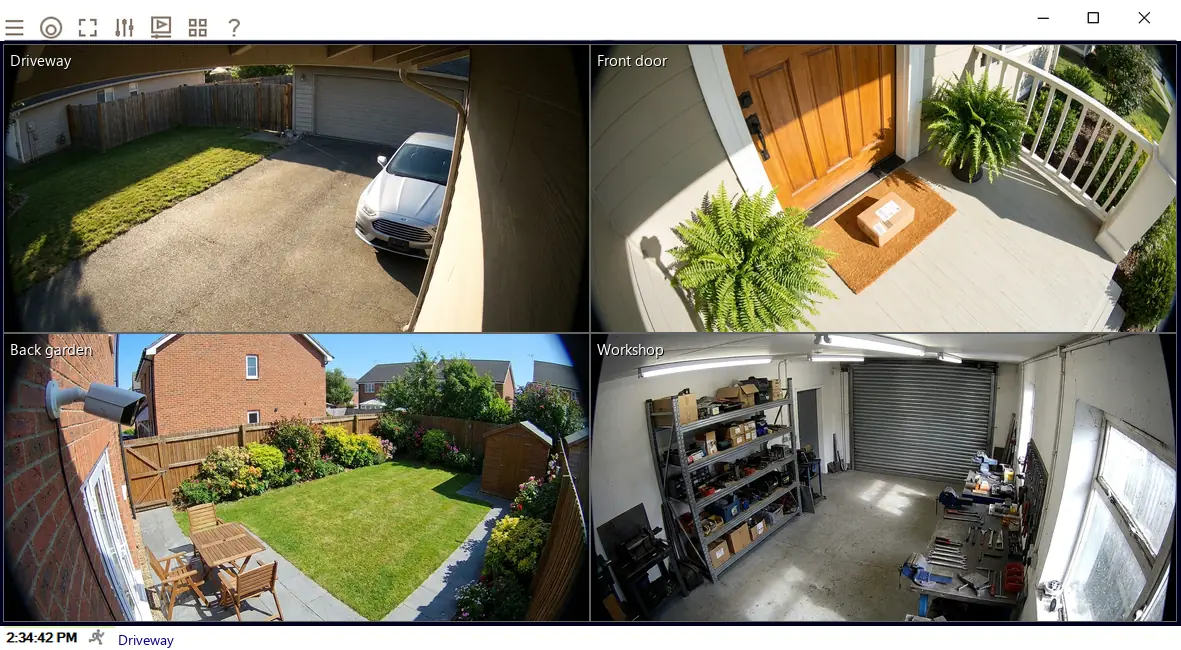
Once it is connected.
- Watch it liveOn its own or beside your other cameras, across up to 8 monitors.
- Record on motionChoose the part of the picture that matters and how sensitive it should be.
- Get an emailA snapshot the moment motion starts, so you know without watching.
- Read number platesPlate recognition is included in every license, including the free one camera license.
Try it on your Reolink camera tonight.
The complete software, free for life on one camera. No card, no email, no trial clock.