
Camera setup · TP-Link VIGI
Connect a TP-Link VIGI camera to VISEC.
VIGI is TP-Link's business camera line and is a different proposition from their consumer Tapo range: VIGI cameras are built around ONVIF and RTSP, so they work with PC software straightforwardly. If your camera is a Tapo, see the Tapo setup page instead - the steps are not the same.
Download VISEC free
One camera free for life · Windows 10 & 11 · no card, no email.
First, try the easy way
Press scan.
VISEC searches your network for ONVIF cameras and lists what it finds. If your TP-Link VIGI camera already has ONVIF switched on, it appears here and you are watching live in a few seconds — nothing below is needed.
Getting it connected
If the camera does not appear.
Menu names move around between firmware versions, so treat these as the place to look rather than an exact path.
-
Activate the camera
A new VIGI camera needs a password set before it will accept connections. Do that in its web page or in TP-Link's utility.
-
Check ONVIF is enabled
In the camera's settings, look for the ONVIF or third-party access option and make sure it is on.
-
Note the ONVIF credentials
Where the firmware keeps a separate ONVIF account, use those details in VISEC rather than the admin ones.
-
Scan from VISEC
Press scan, pick the camera and sign in.
PortsHTTP 80, RTSP 554.
VIGI is not TapoThe two ranges share a manufacturer and nothing else as far as third-party software is concerned. Check which one you have before following any guide.
PoEMost VIGI cameras take power over the network cable, so one cable does both jobs.
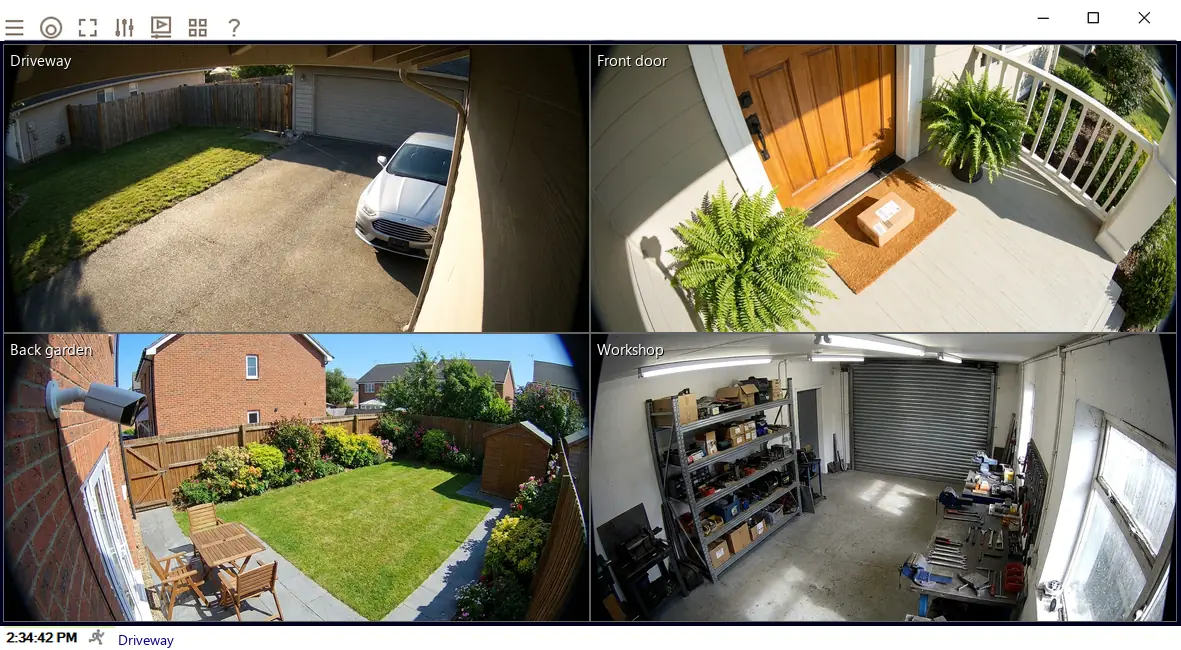
Once it is connected.
- Watch it liveOn its own or beside your other cameras, across up to 8 monitors.
- Record on motionChoose the part of the picture that matters and how sensitive it should be.
- Get an emailA snapshot the moment motion starts, so you know without watching.
- Read number platesPlate recognition is included in every license, including the free one camera license.
Try it on your TP-Link VIGI camera tonight.
The complete software, free for life on one camera. No card, no email, no trial clock.